Add and switch stores
Create another store and choose which store supplies your day-to-day data.
Stores keep storefront-specific commerce and launch data organized. Set up each store with the domain, currency, and timezone you actually intend to use.
Add a store
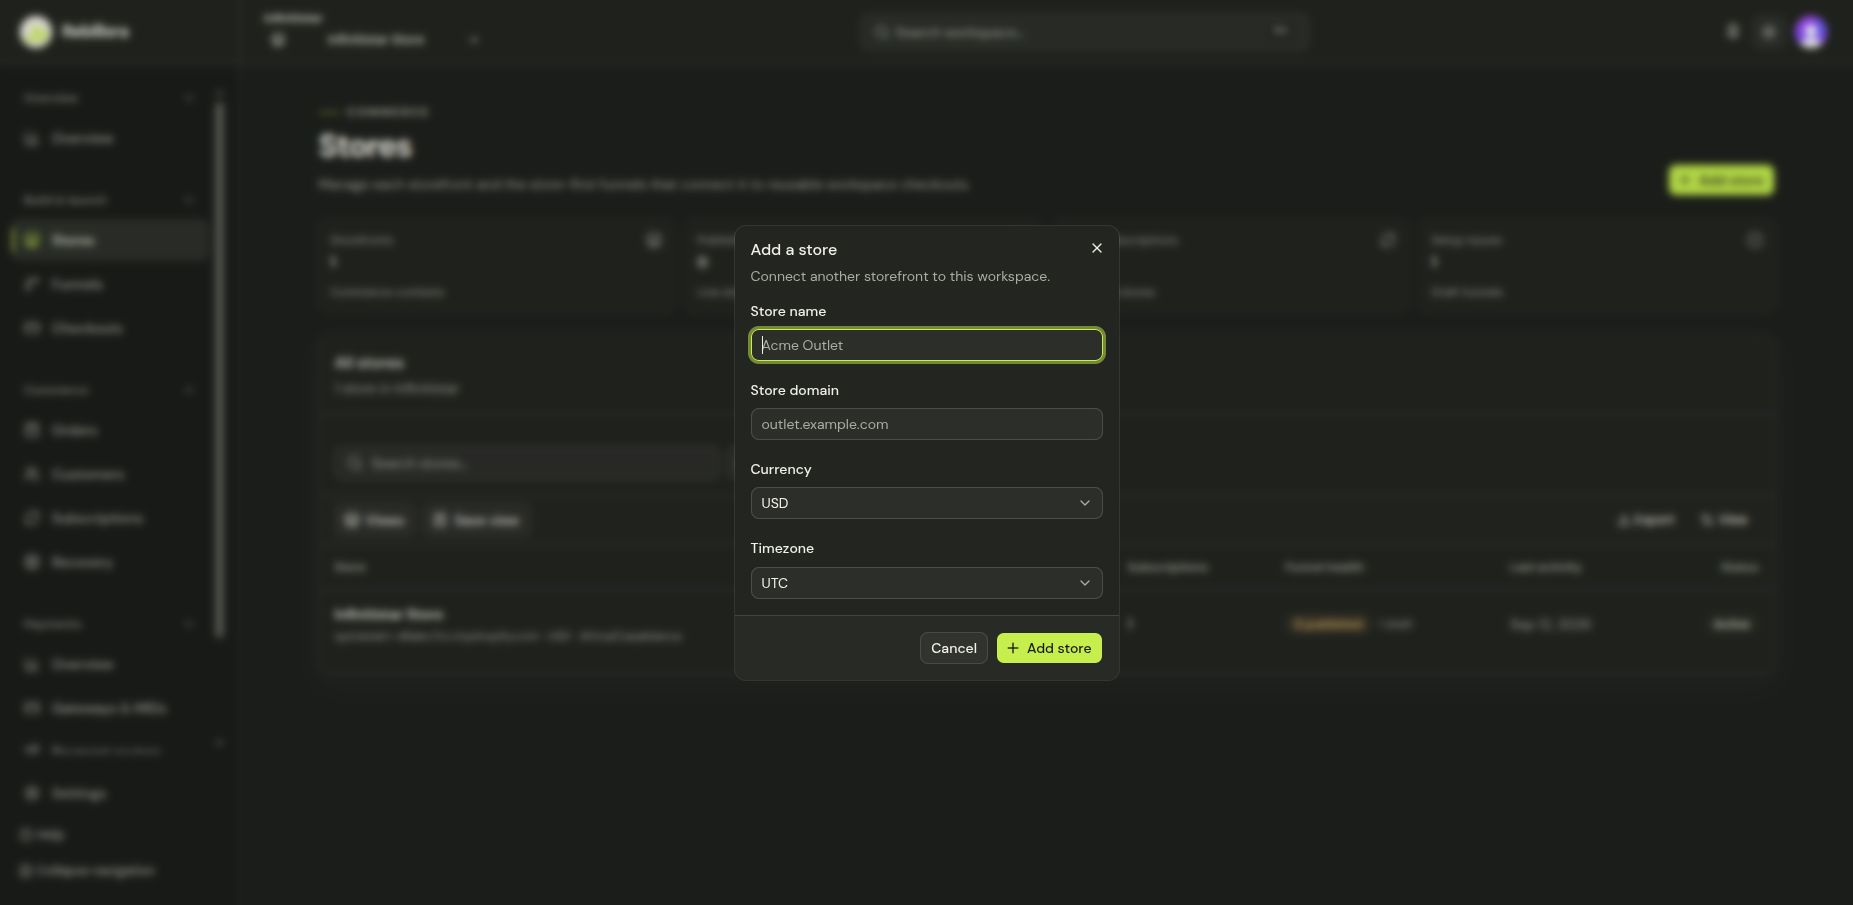
- Open Stores and select Add store.
- Enter the Store name and Store domain. Use the domain shoppers recognize, not a temporary editor URL.
- Choose Currency and Timezone. Review them before saving: later reporting and schedules use store context.
- Save the store and open its detail page to review the result.
Switch the active store
Open the store detail and select Set as current. Return to Overview or Launch and confirm the store shown there is the one you intended. Store-specific lists can legitimately show different records after a switch.
Adding a store does not itself connect a payment gateway, create a checkout, or publish a funnel. Follow the launch checklist for those separate steps.